Editing is my biggest challenge. I seem to spend more time in revision than any other step. I just can’t “wing-it.” I want everything set in stone before I begin. There are plenty of print artists that begin spontaneously. They start with an idea or maybe a loose sketch and begin carving. Or they may simply begin by drawing right onto the block giving the finished print an unforced look and feel.
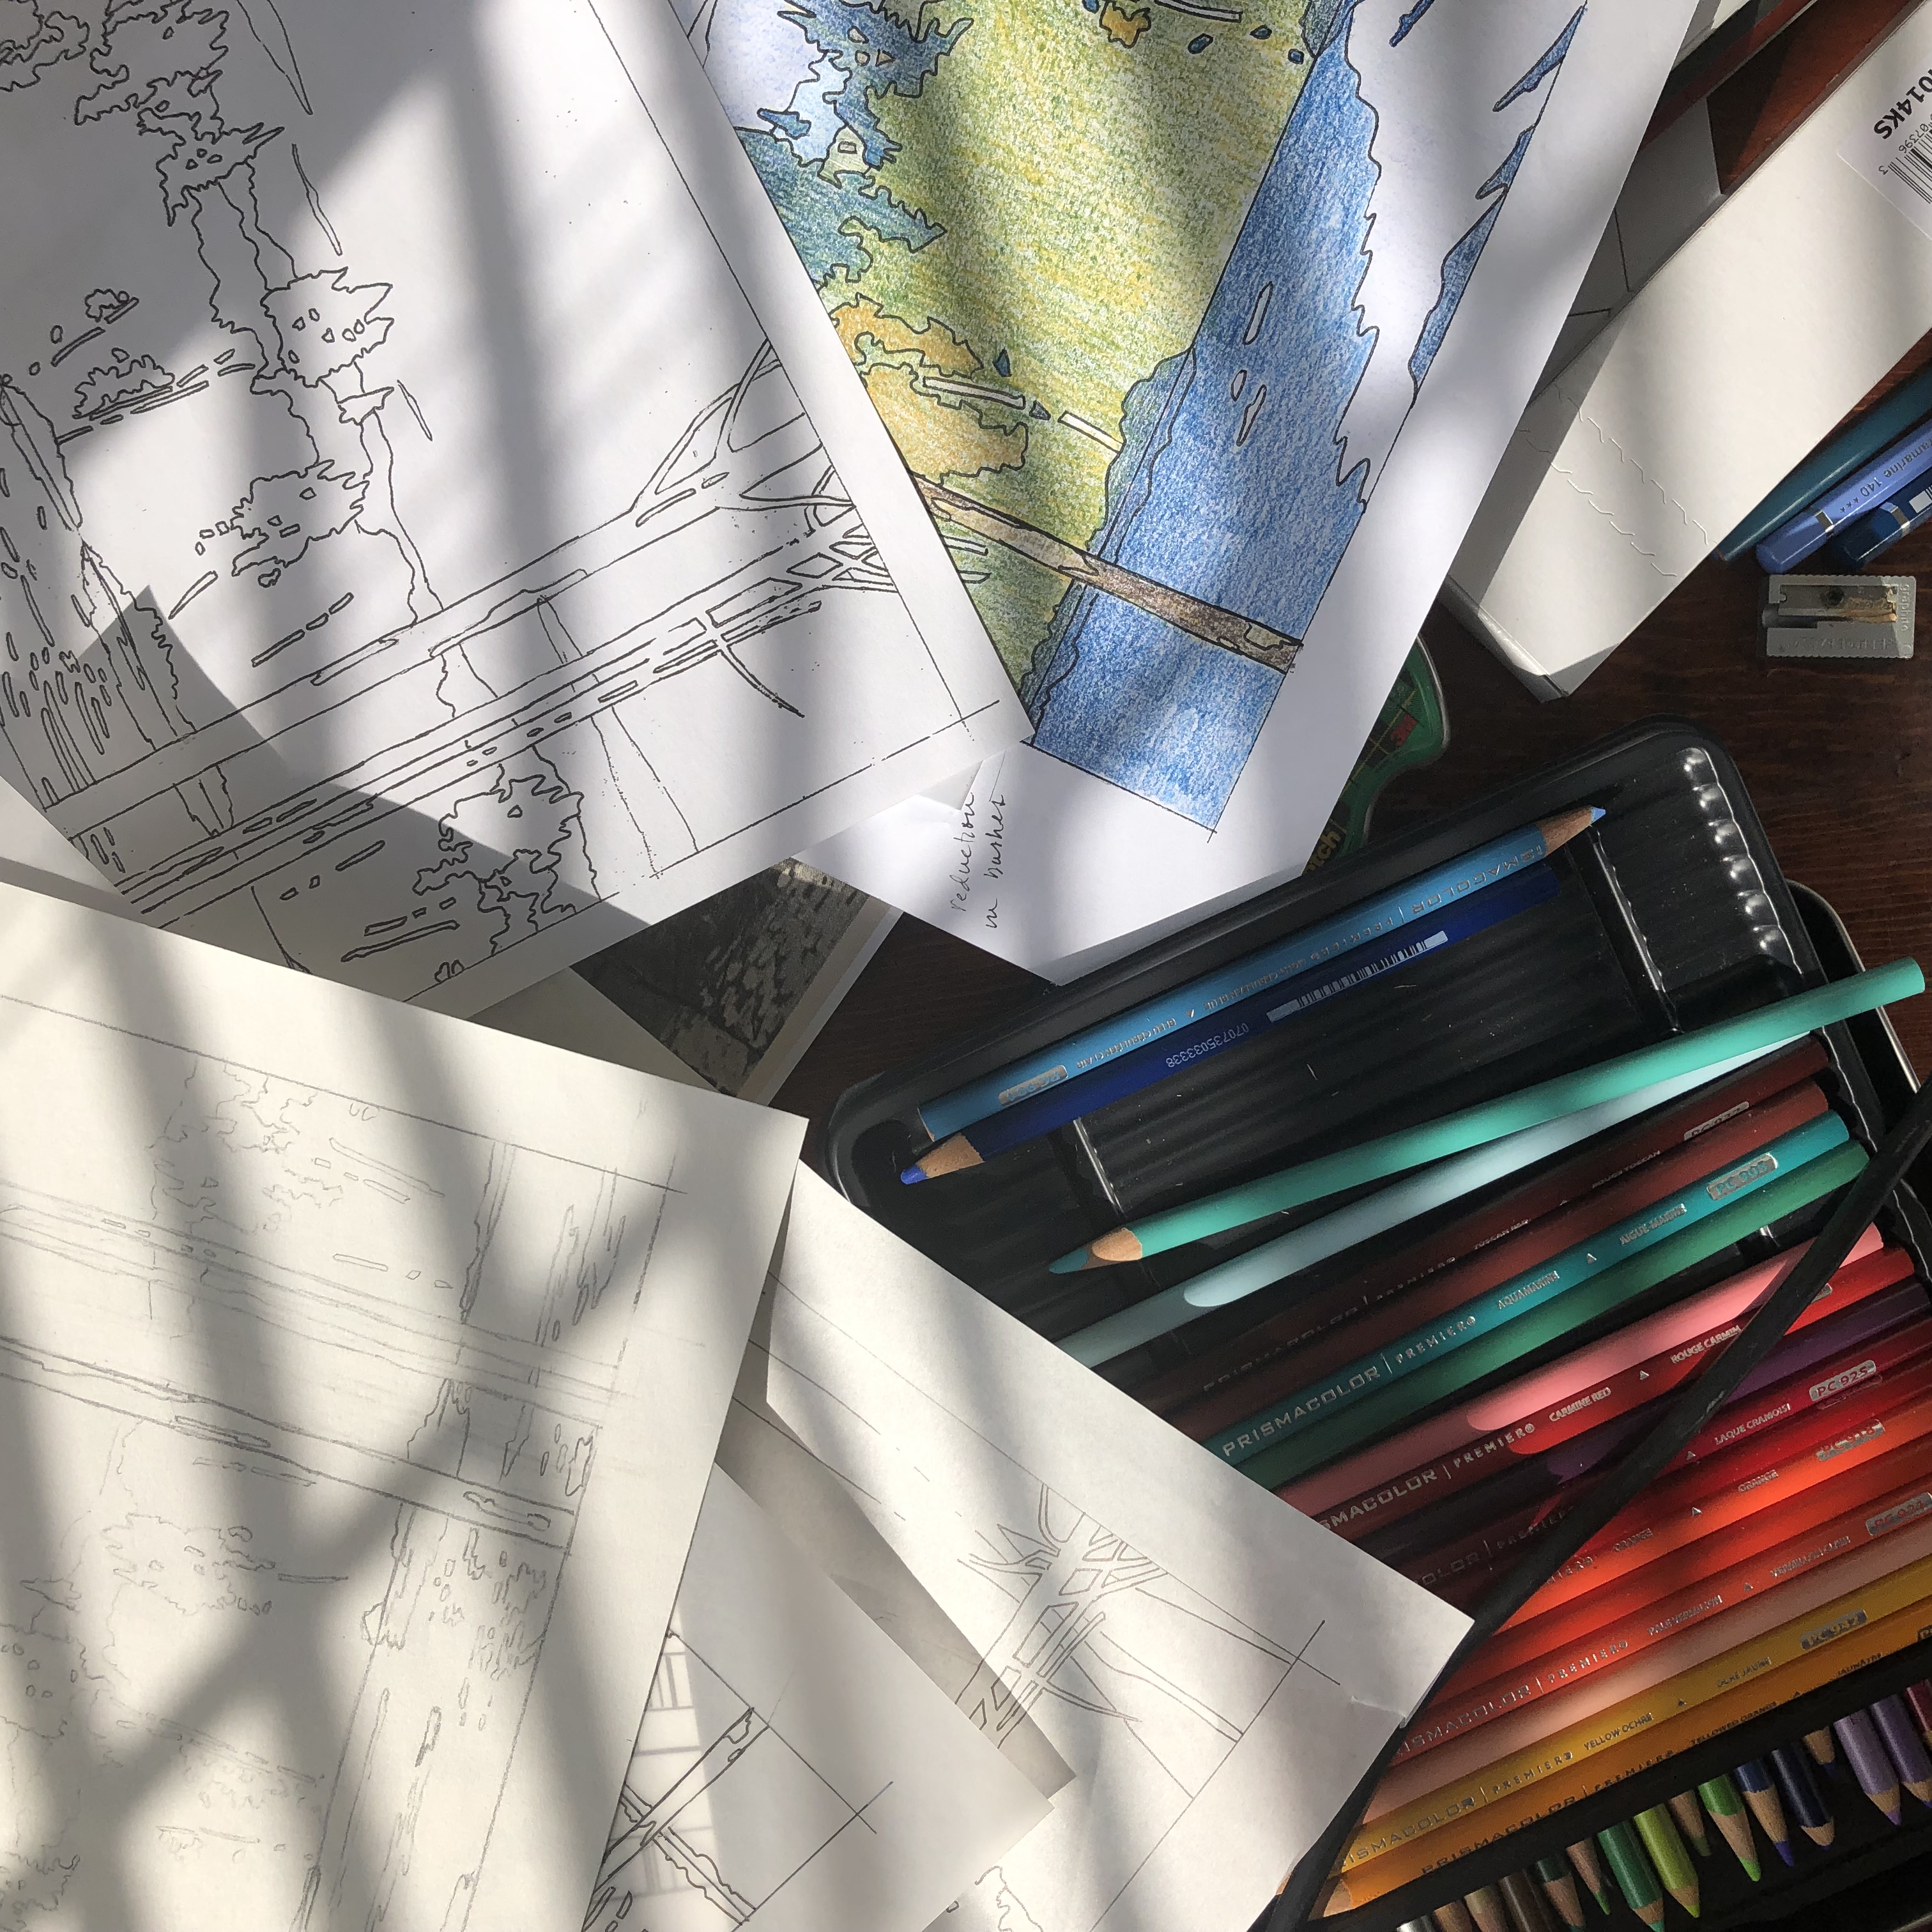
I work in a more meticulous manner beginning with a drawing. The drawing goes through many revisions (my lengthy editing process). Once the drawing is completed, it gets colored and broken down into individual hues, i.e., blue, red, yellow. Then, the image gets transferred to the wood blocks using carbon paper. Each color gets a block and usually each block holds only the shapes for that color. Once the image transfer is complete, the carving begins. Then, color by color, the boards are inked and printed, building up layers to create a proof. After proofing, there’s always fine tuning, and once everything is good, the printing of the edition begins.
Now, that’s a simple explanation of the process, but it gives you an idea of the many steps that follow the initial drawing. And that is why I spend so much time on the drawing. Yes, it’s possible to make changes along the way, but much easier to be happy with what you have at the start. The end result, the edition, begins and ends with the initial drawing. So yes, editing is my biggest challenge. I spend more time debating what to leave out or what to add, evaluating the composition and the elements of design. I hope that one day it won’t be so laborious. But for now, I continue to sit and struggle with the editing process.
All that said, mokuhanga is worth the time and effort. And, if you’re looking for a good reference about how to create Japanese woodblock prints, I recommend “Japanese Woodblock Print Workshop,” by April Vollmer. She breaks down the process and provides excellent examples and resources.
Happy carving!